How to Give Wood a Burnt Look
At first glance, the thought of mixing wood and flames may seem like a highly unsafe idea. However, hundreds of years ago, the Japanese had a different vision. Throughout the centuries, the Japanese have treated timber with fire to make it more resilient, giving it weatherproof qualities and extreme durability. This unconventional approach resulted in the creation of one of the most magnificent building materials known to date: charred wood. Given that most of their ancient burnt wood facades are still seemingly intact, it’s safe to say the Japanese were onto something.

Achieving The Perfect Burnt Wood Look
To achieve the traditional burnt wood look that makes Shou Sugi Ban unique requires highly skilled craftsmanship. However, with a little research and determination, anyone can do it. If you consider yourself handy, wood charring could just be the perfect DIY (Do It Yourself) project for you.
To get started, you will need the right tools and materials, and they include:
- A small propane blowtorch
- A stiff bristle brush
- Compressed air
- Orange or flaxseed oil
- Sanding pads
- Heat protectant gloves
- Face protecting mask and goggles
- Water
Selecting the Correct Wood
Historically, the Japanese used cedar and cypress as their preferred timber choice for the Yakisugi technique. Cedar is light and porous, with a chemical component that makes it perfect for charring. However, nowadays, there are several other options you can explore. It all depends on the finish you desire, and the budget you have for it.
When selecting your wood of choice, you must keep in mind its final use. Hardwoods are a better choice for external applications such as sidings, fences, and decks because of their durability, whereas softwoods are preferred for interior spaces.
Preparing the Timber Surface
It would be best to run a little test on your timber before getting started. Wood obtained from the same tree may have varying conditions, i.e., some pieces might be more porous or drier than others, thus giving different results even when exposed to the same flame. If you’re revamping an old piece, make sure you remove any paint or enamel traces before you start working. By doing so, you’ll avoid exposing yourself to the dangerous fumes that would otherwise be released when exposed to fire.
Sanding
This step is rarely required when preparing timber for charring. The burning process removes rough spots, so you should only sand your planks if they present splinters or any deep scratches.
Doing It Yourself
Before you begin, always make sure that you’re working in an open area, preferably on a wind-free day. Set the wood on a flat, clean surface, such as concrete or metal countertop. Protect yourself by wearing the necessary safety gear and ensure to have a fire extinguisher nearby.
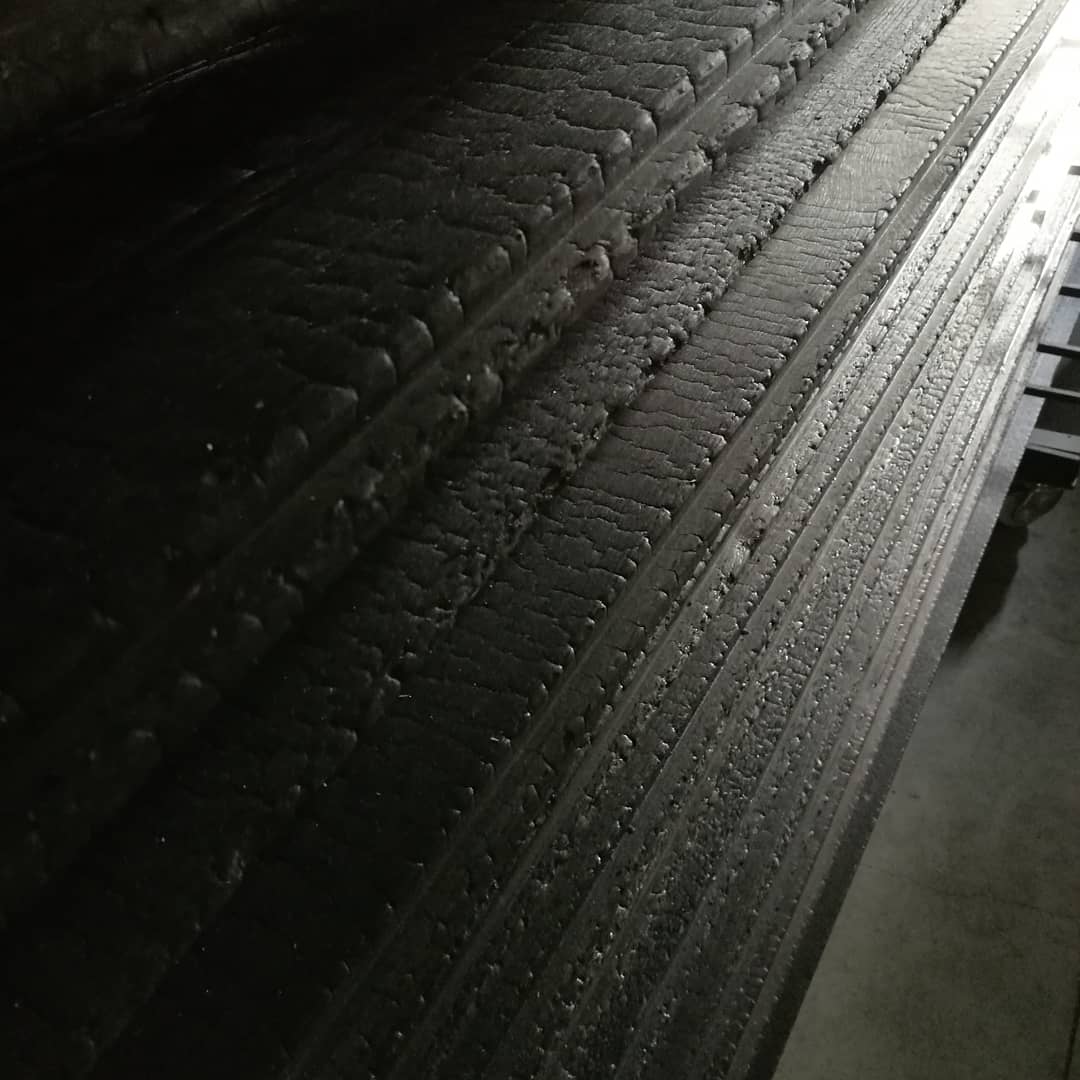
Switch on your blowtorch to get started. Keep your flame at least 12 inches away from the wood. Spread the fire uniformly until you achieve your desired finish. Once the wood is covered with a char layer, brush it off or sand it gently. You can then proceed to use compressed air or a damp cloth to remove any remaining residue. Once you’re done with this process, the final step is to apply a coat of the natural oils to your burnt wood to help preserve it better.
Final Words
Although DIY is fun, you will achieve better results when you employ professionals. At Degmeda, we provide affordable wood charring services to our clients and a great variety of high-quality charred timber for all your projects such as cladding, fencing, flooring, and decking. Our Shou Sugi Ban boards come in a variety of colors and from different timber sources such as Accoya, larch, pine, spruce, and the traditional cedar, which you can find in our catalog. We offer worldwide shipping. For more information, visit our website.
Our Burnt Wood Projects
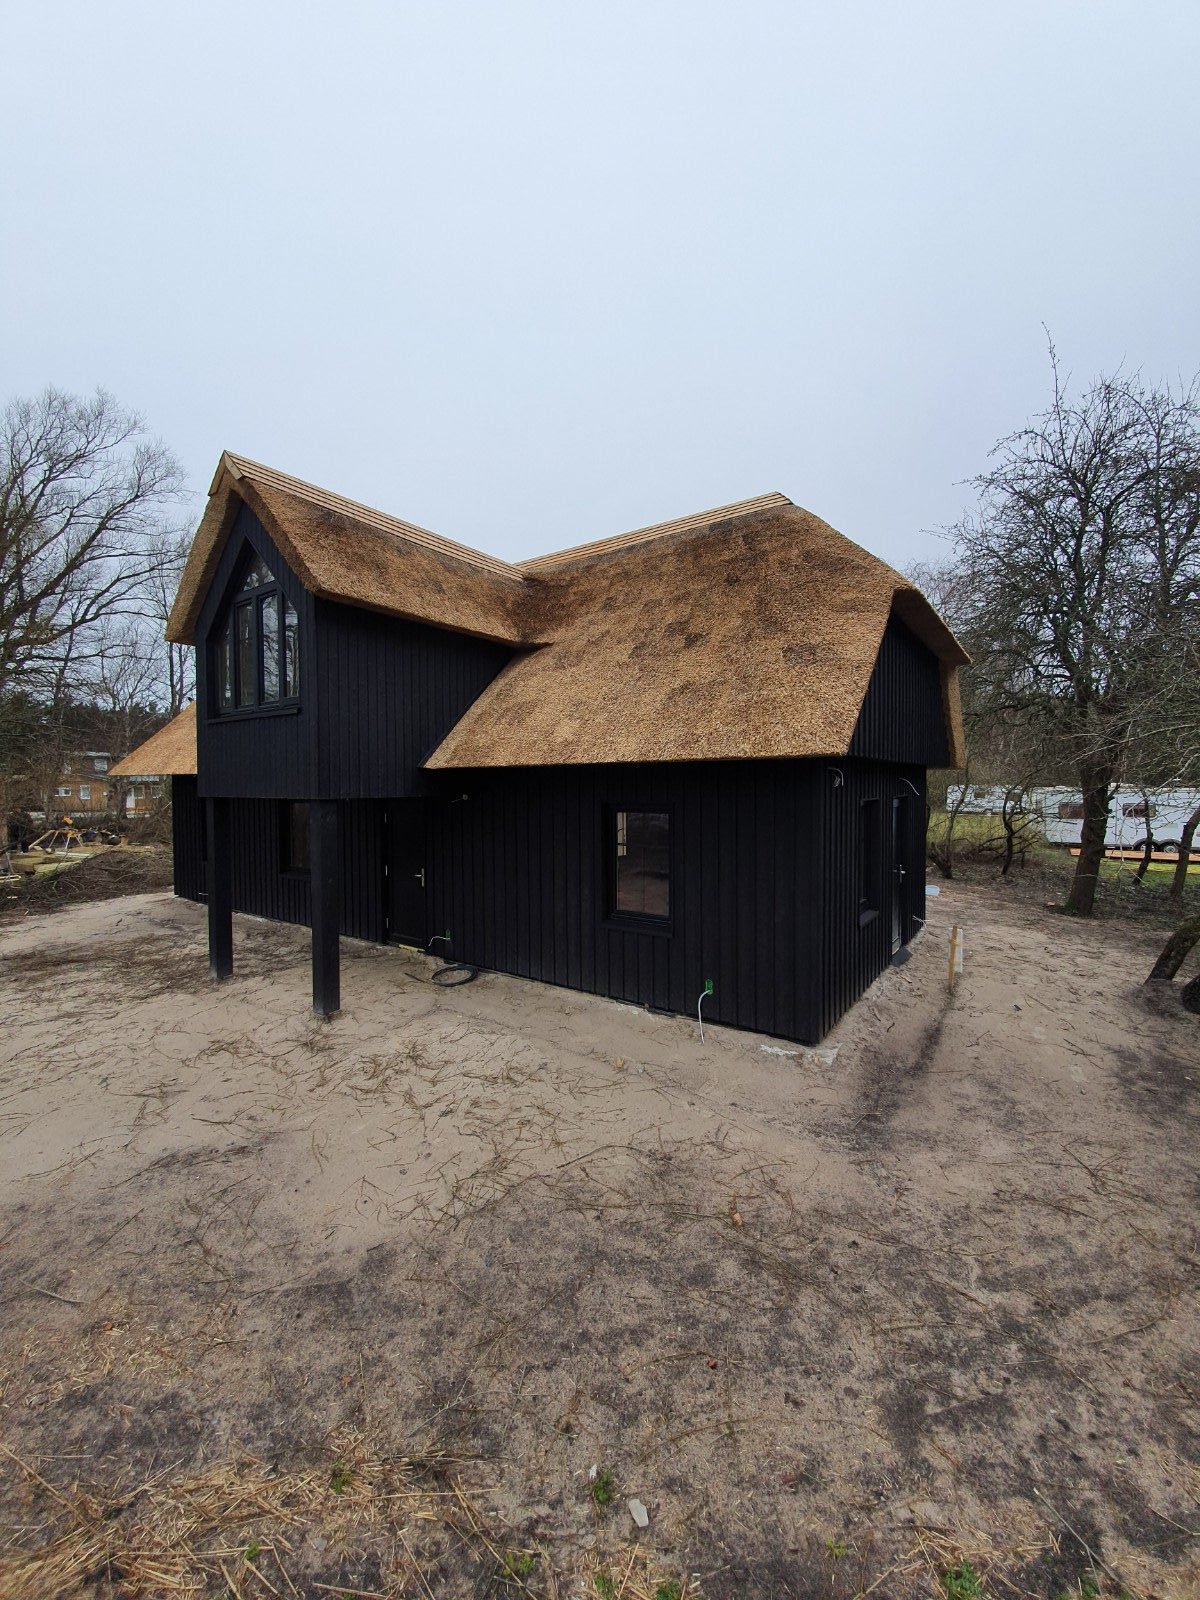

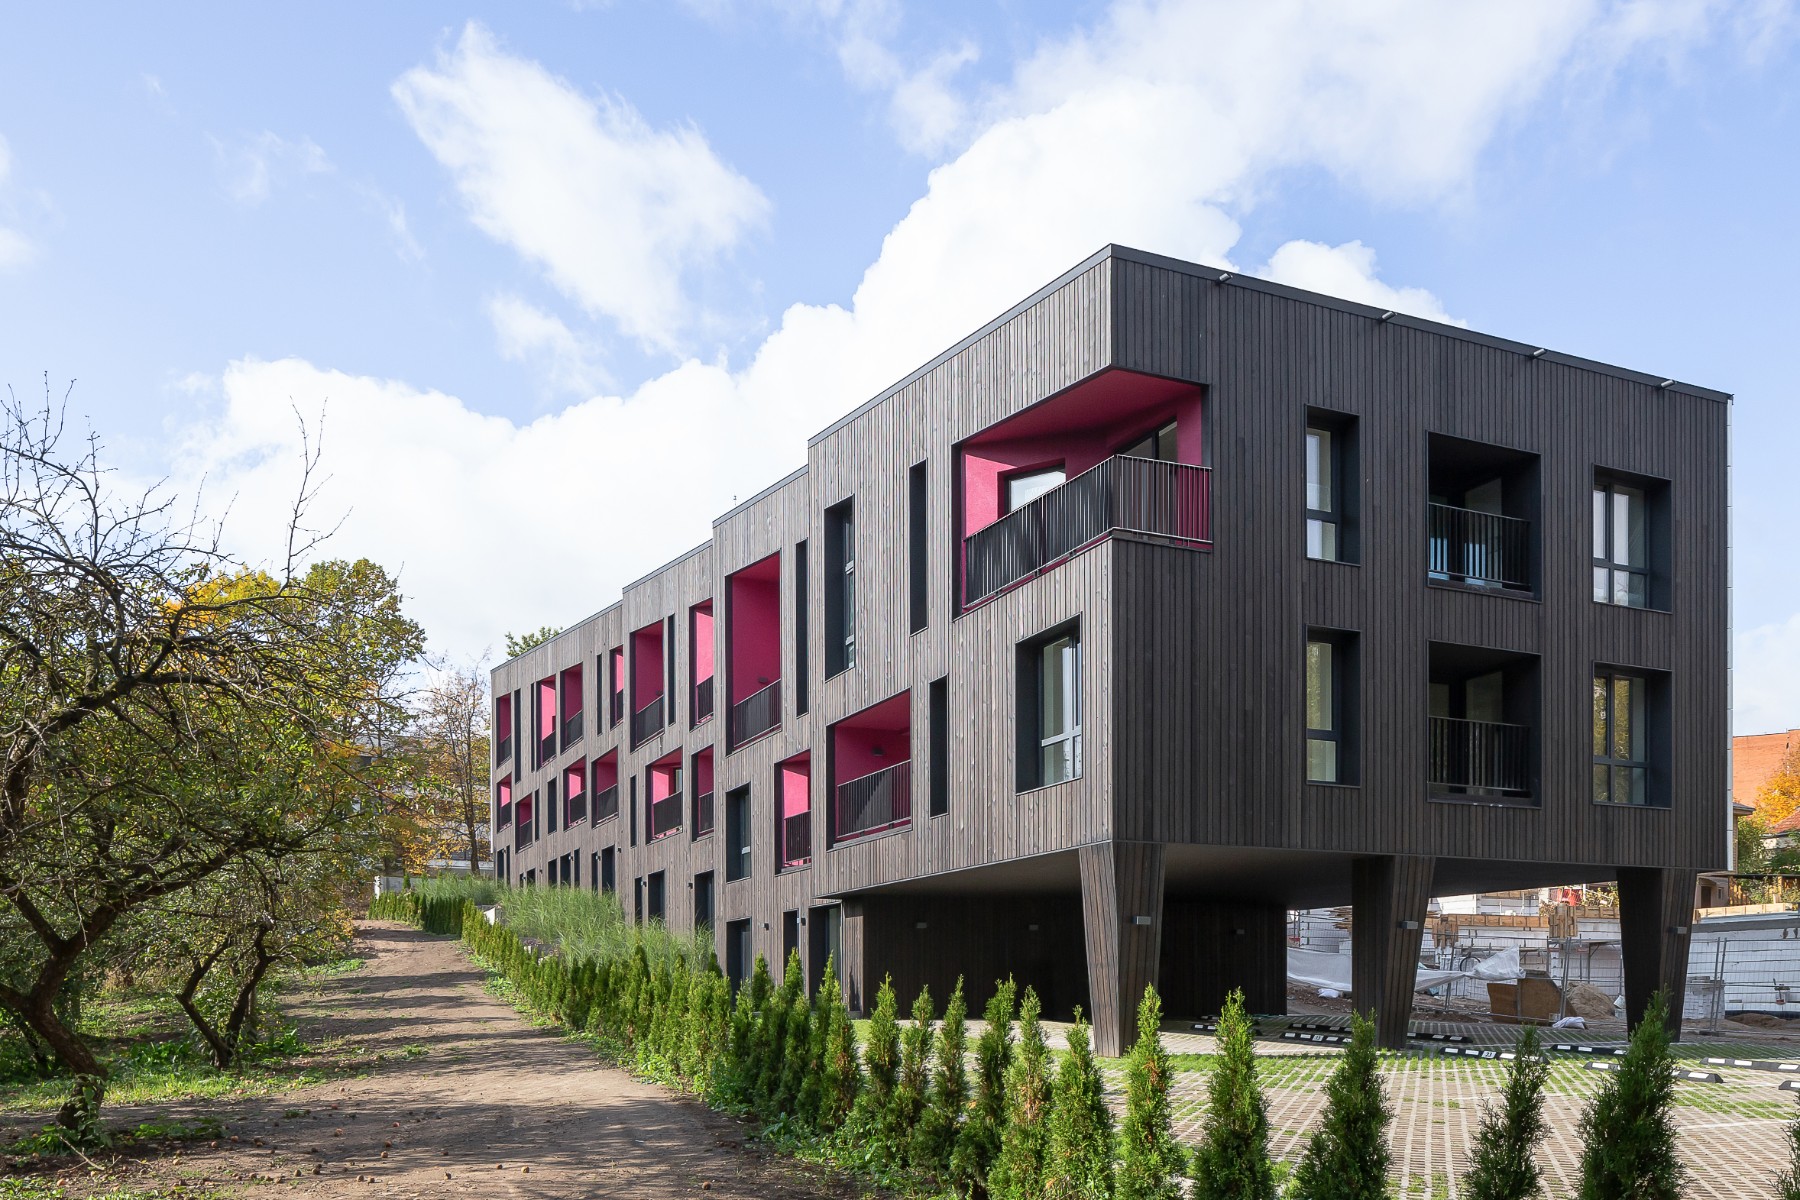
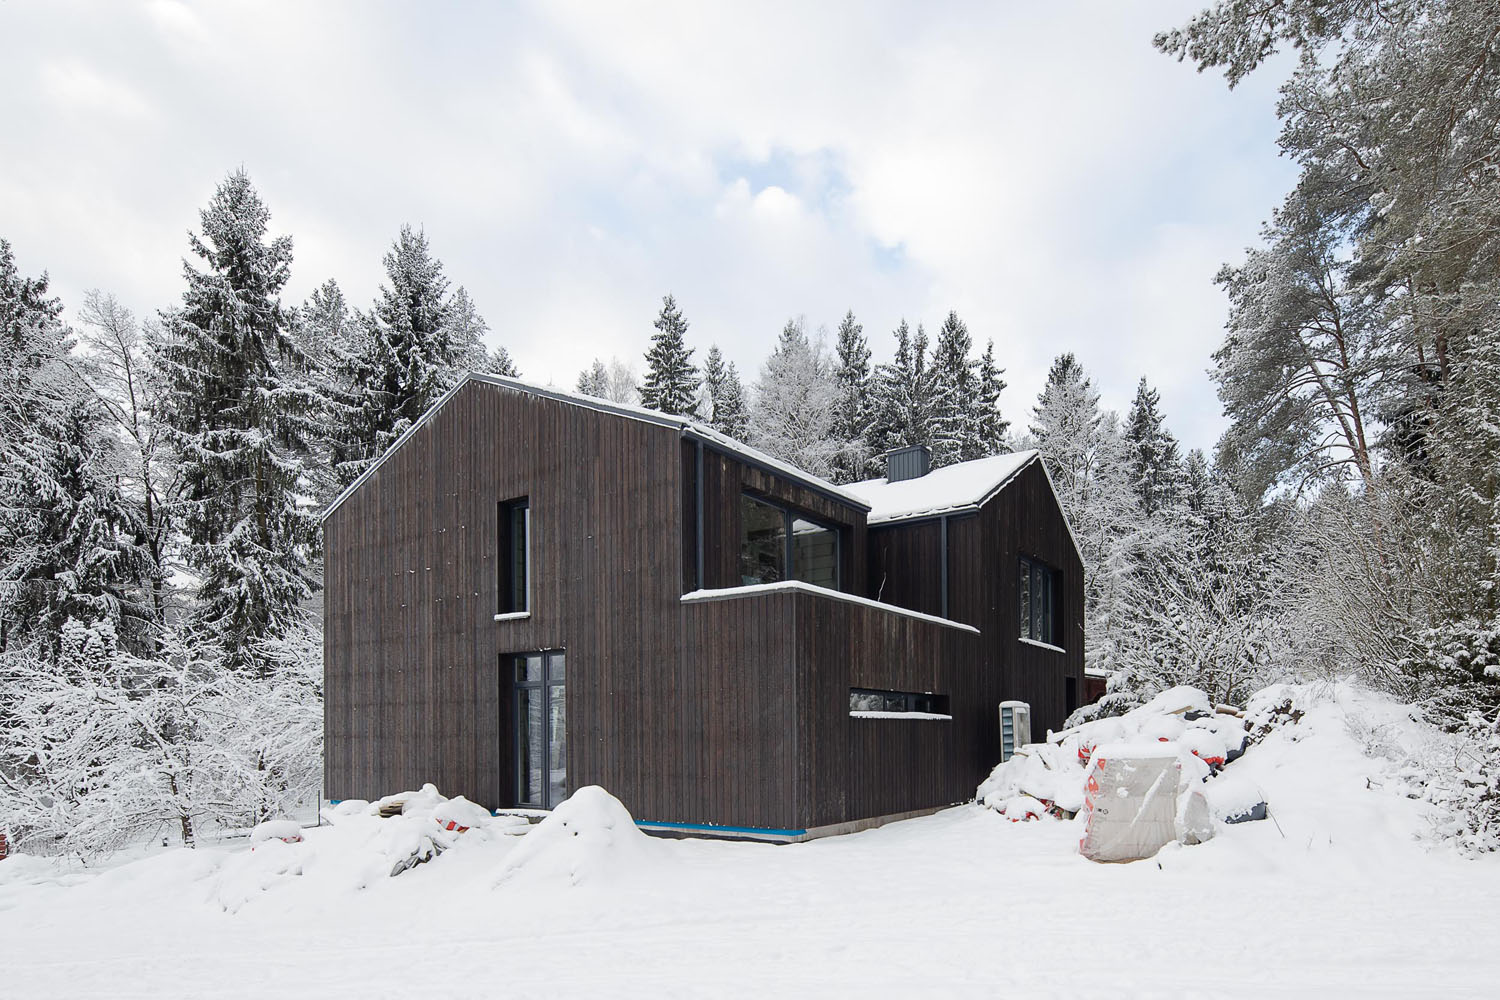
For more burnt wood project photos, please visit our gallery.