How to Seal Charred Wood – Step-by-Step Shou Sugi Ban Guide
Introduction: Why Sealing Charred Wood Matters
Sealing charred wood is the best way to preserve its beautiful tone and texture – especially for decks or cladding exposed to the elements. Exposure to rain, sun, and shifting temperatures can quickly wear down even a beautiful wood patio or deck – leading to fading, cracking, and surface damage if left unsealed.
In this guide, we’ll walk through the full sealing process of properly sealing your charred wood to ensure that it looks its best rain or shine.
Before we begin, explore how our sealed charred wood holds up in real-world projects.
Why Sealing Charred Wood Still Matters
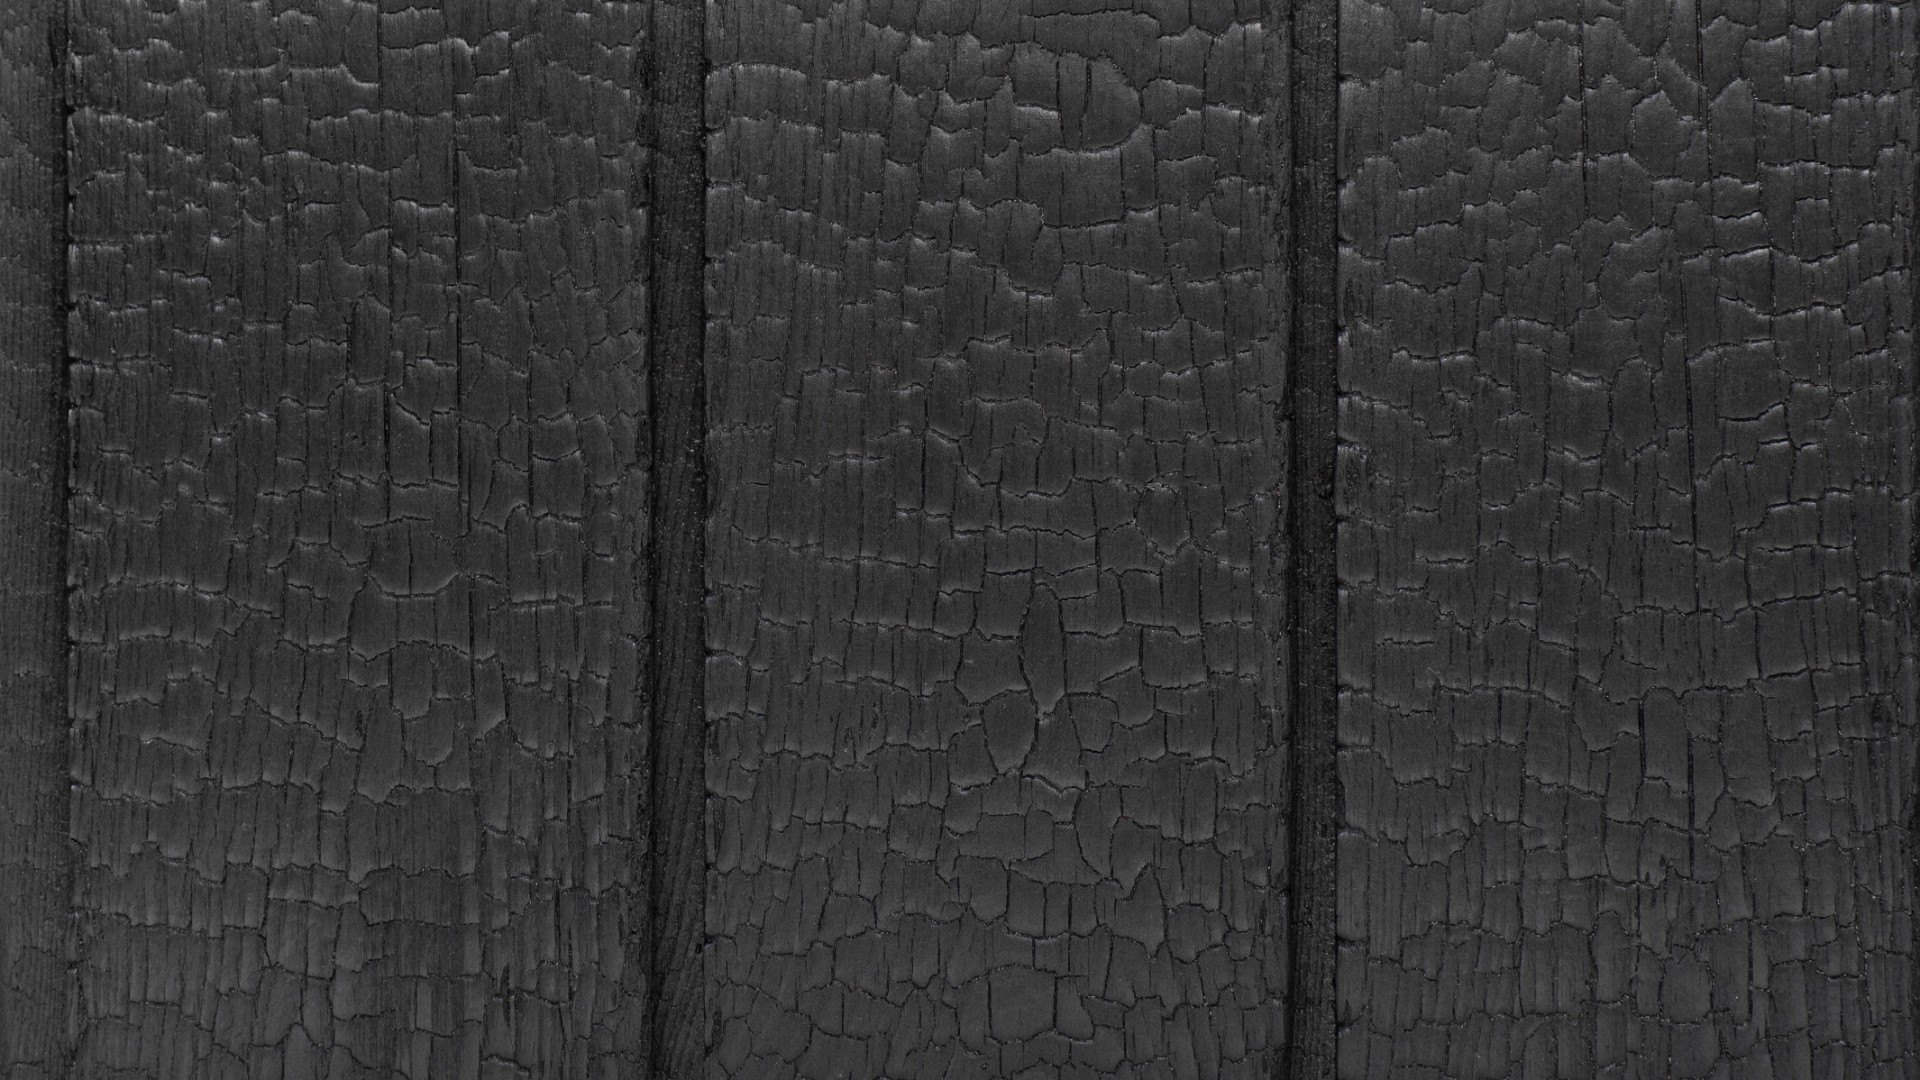
You may not be familiar with charred wood and its resilient properties. If you aren’t, then here’s a quick primer. Charred timber, also called Shou Sugi Ban or Yakisugi, is a time-honored Japanese tradition of burning and treating wood with oil that improves longevity and appearance.
Though the resiliency of charred timber is greater than untreated wood, it is still advisable to seal any wood that will be used outdoors. Sealing the wood adds an extra level of protection against the elements, preventing cracks, peels, and chipping.
You may think that you only need to seal outdoor wood, but there are many cases where indoor wood furniture also needs to be sealed, and requires a slightly different method.
Step-by-Step: How to Seal Charred Wood Properly
Sealing both indoor and outdoor charred wood follows the same core steps, with only slight adjustments depending on exposure. The process is simple and doesn’t require advanced woodworking skills.
Follow these steps to prepare and seal your Shou Sugi Ban surface:
1. Brush the Surface
Lightly brushing the charred wood helps open up the surface so that sealants, oils, or stains can soak in properly. This is especially important with Shou Sugi Ban, because the outer burned layer can block these finishes from getting into the wood. If you skip this step, the coating may just sit on top instead of bonding with the surface.
- Use a soft-bristle brush or stiff nylon pad
- Don’t overdo it – a light pass is enough
- Use a dry cloth or soft brush to wipe away any dust or loose material before continuing.
2. (Optional) Apply Stain or Color
If you’d like to alter the tone of your boards beyond the natural charred finish, now is the time to apply your chosen stain or pigment.
- Use a wood-compatible exterior or interior stain
- Let it dry completely before sealing
- Skip this step if you’re preserving the natural look
3. Seal the Surface with the Right Technique
Once your charred wood is prepped (and optionally stained), it’s time to apply a protective sealant. This step preserves the finish, adds water resistance, and protects the surface from daily wear and UV exposure.
3a. Choosing the Right Sealant
- For outdoor use: choose an oil-based polyurethane – it’s more weather-resistant than water-based formulas and performs better on exposed surfaces.
- For indoor use: use shellac – a non-toxic option safe for furniture, walls, or floors. However, shellac is not water-resistant, so it’s not suitable for outdoor applications or wet zones.
3b. Application Tips
- Use a clean, dedicated brush for sealant application – never reuse one used for staining or paint (in this case, a brush that was used in step 2, should not be re-used)
- Dip lightly and wipe off any excess sealant before brushing
- Apply a thin, even coat using slow, steady strokes
We recommend starting from the interior of the surface and brushing outward. This helps avoid streaks or blotching, especially on more textured grain patterns.
If the first coat looks uneven or too light, you can apply a second coat after the first has dried – typically within one hour. Some finishes may recommend light brushing between coats or longer curing times, so always follow your sealant’s instructions.
3c. Drying and Handling
Avoid any contact with the sealed surface during drying – especially for interior applications like flooring. Plan your work path in advance so you can exit the room without walking over wet sealant. Improper drying can lead to smudges, uneven sheen, or surface flaws. Read your specific sealant’s instructions for the details on proper application.
Finishing Touches That Protect & Elevate
Whether indoors or outdoors, a good sealant can be the perfect complement to ensure that your charred wood remains in top shape. Sealing Yakisugi wood can also give it an extra shine, which plays perfectly with natural lighting to create an unmatched atmosphere and style.
Charred wood requires thoughtful preparation to perform at its best, and sealing is the single most effective way to protect its surface. Whether you’re planning to use it for exterior cladding, decking, or interior features, understanding how to seal it properly ensures long-term beauty and durability.
Degmeda works with a variety of high-quality wood types, including Accoya®, larch, spruce, and more – all compatible with Shou Sugi Ban finishing. Explore our full range of charred wood boards to find the right fit, or reach out to us if you need help choosing the right finish or sealant for your application.