
Wood Decking Installation, Cleaning and Maintenance
A timber deck holds its character for years when the installation and the care work together. If you are choosing boards rather than looking after existing ones, start with choosing decking timber or charred wood decking. Clear drainage, details you can reach, regular cleaning and prompt attention to worn areas keep the job small and the surface ageing evenly.
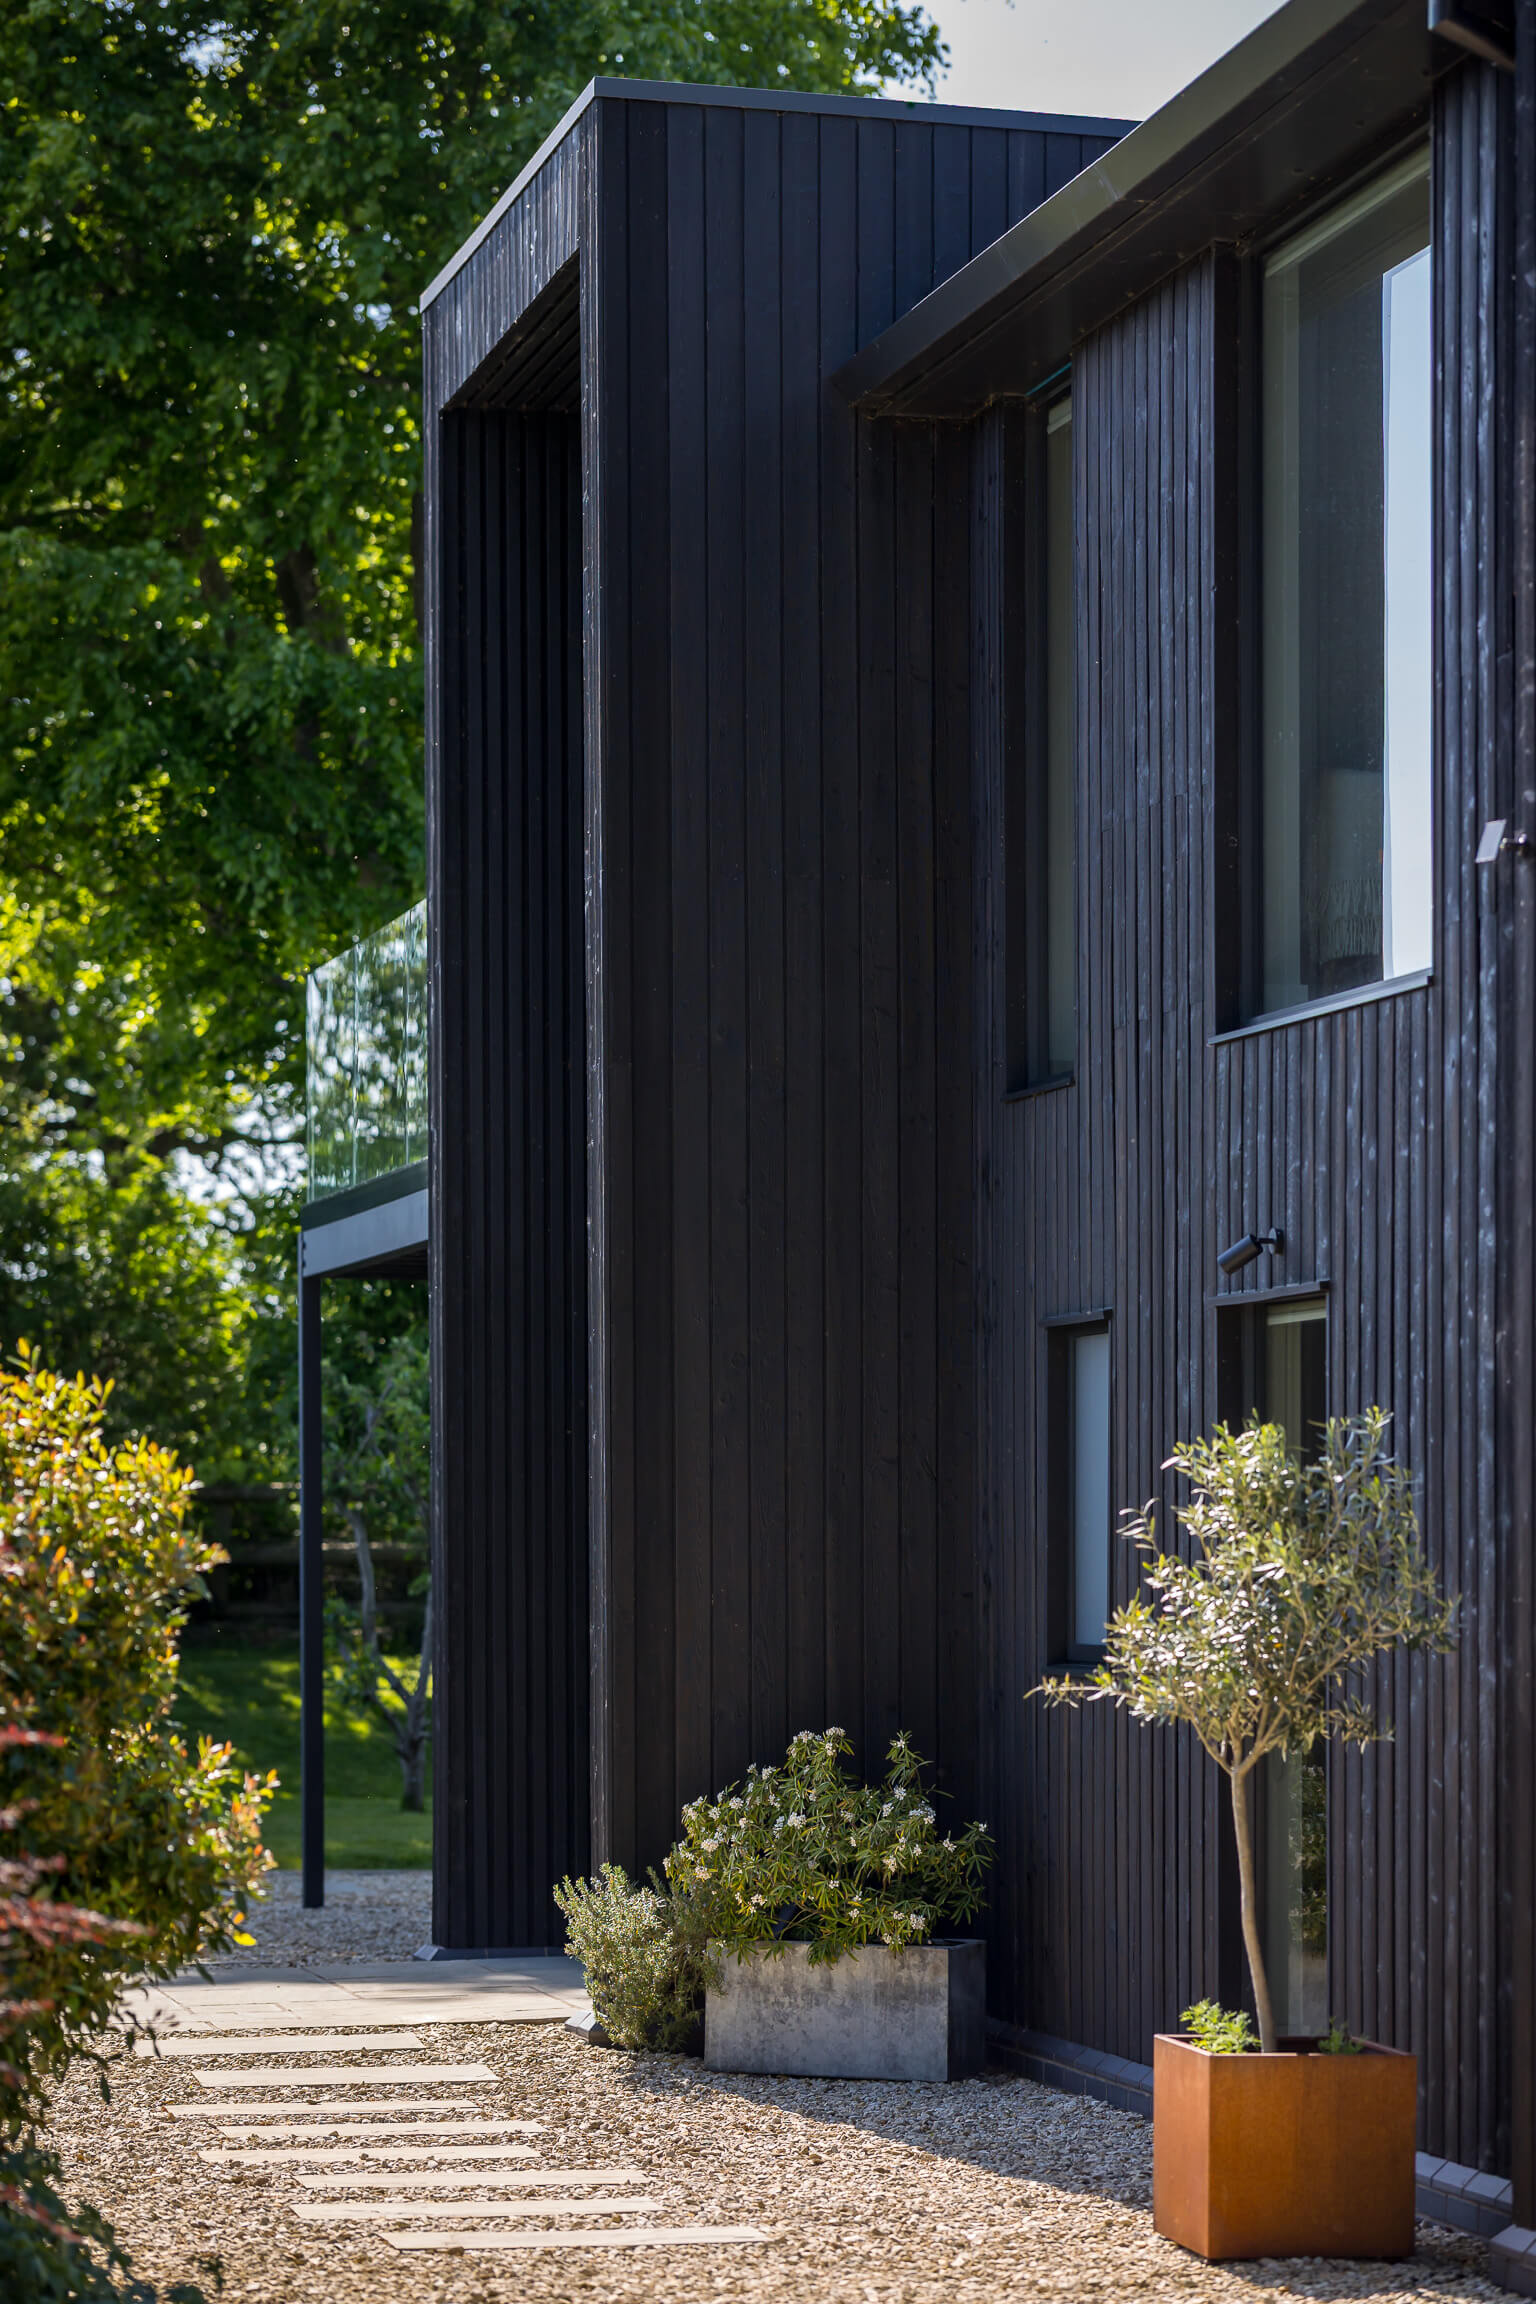
Charred larch cladding beside a garden terrace.
Plan for Maintenance Before Installation
Maintenance starts at the design stage. Pick the timber, finish and profile for the use, the exposure and the look you want. Before ordering, check the current product guidance and write down what you chose, so a repair in ten years matches.
Keep the deck accessible for inspection and cleaning. Design the edges, steps, thresholds and connections to the building so leaves, dirt and water cannot collect somewhere you never look.
Support Drainage and Airflow
A deck has to shed water and dry between wet spells. Design the structure, board spacing and surrounding details so nothing traps moisture or debris against the timber.
Leaves and dirt collect between boards and around edges. Leave yourself practical access to those places, and cleaning stays quick and the deck dries evenly.

Amber charred cladding at a courtyard terrace in Jönköping.
Inspect the Finished Deck
After installation, check that boards and fixings are secure, water can drain freely and the completed details match the agreed specification. Recording the product, finish and installation date creates a useful reference for later inspections or renewal work.
Continue inspecting the deck as it is used and after severe weather. Look for loose fixings, damaged boards, splinters, blocked drainage and areas that remain damp longer than the surrounding surface.
Cleaning and Routine Care
Clear away leaves, dirt and anything else that holds moisture. Start with a soft brush and a mild cleaner suited to the finish. Aggressive cleaning tears up the wood fibres and the oil, so match the method to the state of the deck.
Watch Degmeda’s Charred Wood Decking Maintenance Guide
This short English tutorial demonstrates a straightforward process for cleaning and renewing charred wood decking. Use it together with the guidance supplied for the specific Degmeda product and finish used on the project.
Renewing the Finish
Outdoor exposure and foot traffic gradually change the appearance of a timber deck. Where oil or another finish is used, renewal should be based on the visible condition of the surface and the guidance for that finish rather than a single interval for every project.
Clean the surface before renewal and allow it to dry as required. Test the selected maintenance product on a small, less visible area when there is any uncertainty about colour or compatibility.
Address Local Damage Early
One advantage of timber decking is that you can clean, refinish or repair one area without touching the rest. Look at local damage early and find the cause, before it becomes a bigger job.
Damaged boards, persistent damp areas or recurring movement deserve closer inspection. If the correct response is unclear, use the original product record and photographs of the affected area when requesting advice.
Keep a Simple Maintenance Record
A short record of inspections, cleaning and finish renewal makes future decisions easier. Note the date, condition of the surface, products used and any areas that need to be checked again. This is particularly useful for larger projects or properties maintained by more than one person.
Choose the Right Wood Decking First
Maintenance expectations begin with material selection. For guidance on species, finish, exposure and appearance, read Degmeda’s wood decking selection guide. For product-specific care, discuss the project conditions and selected finish with the Degmeda team.