
Timber Cladding Systems: Profiles and Layouts
Timber cladding systems differ in more than colour or species. The profile, board direction, joint design, supporting battens, ventilation and fixings all influence the appearance and the way the facade manages water, movement and maintenance.
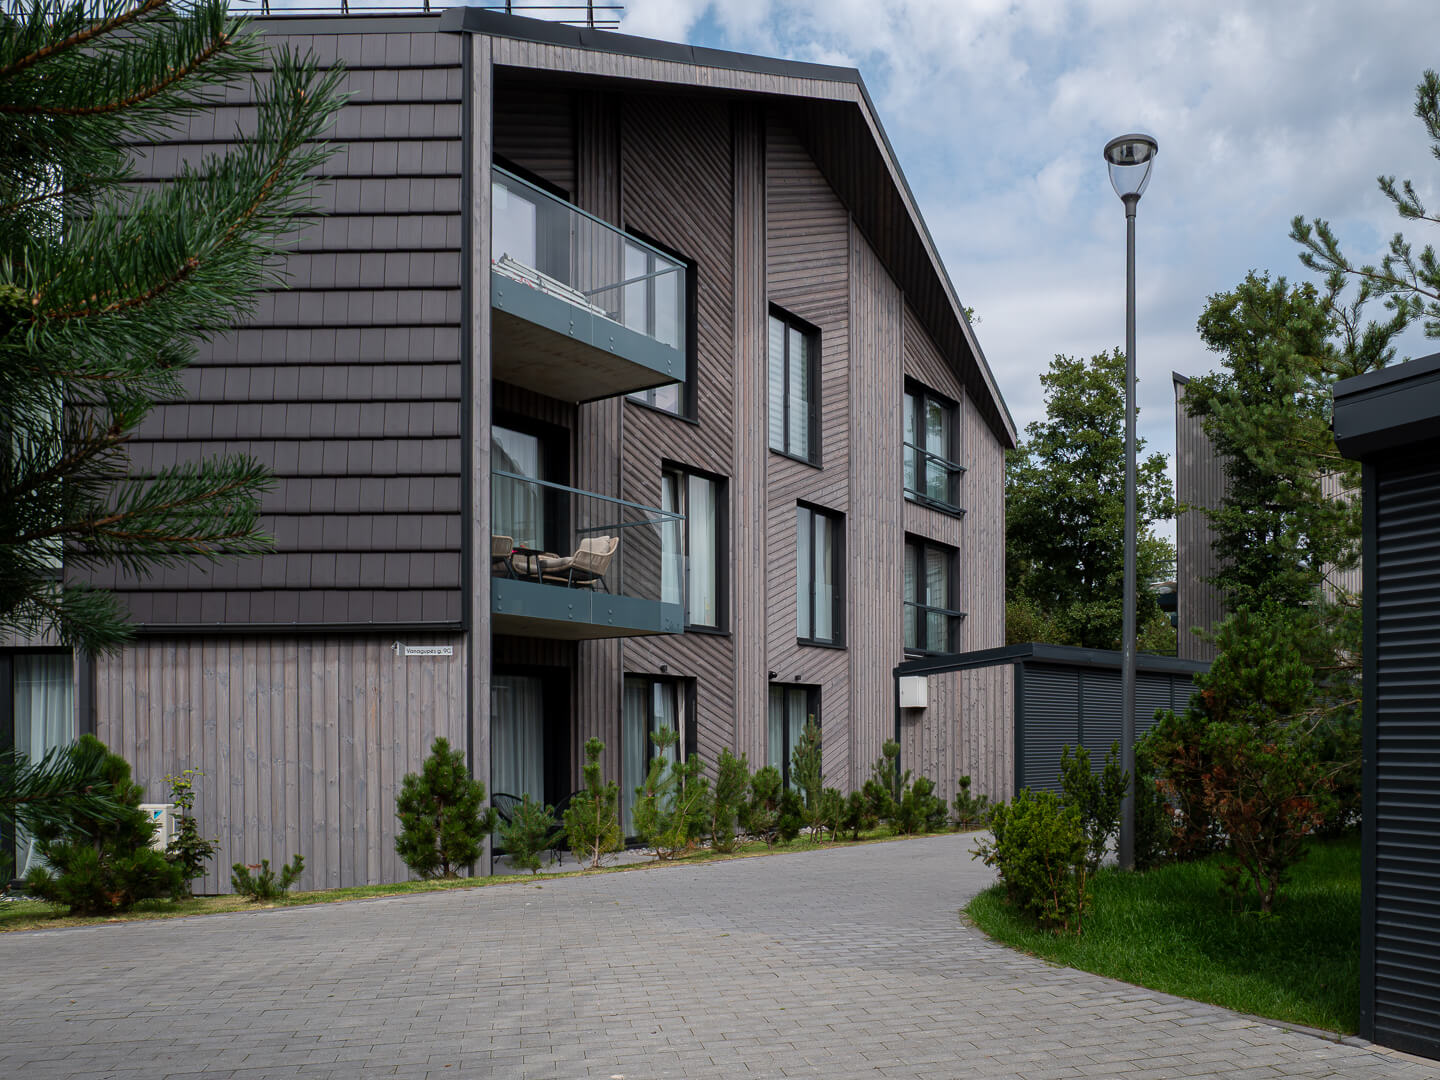
Ventilated Timber Cladding
A ventilated timber facade places the boards in front of a drained and ventilated cavity. The outer surface sheds most rain, while the space behind it allows incidental moisture to drain and supports drying. What cladding is used for covers the job the layer is doing.
Battens, ventilation openings, flashings, membranes and fixings form part of the same wall system. The cavity must remain continuous where the design requires it, and details around windows, doors, corners and the base of the wall must allow water to leave the construction.
Horizontal Timber Cladding
Horizontal boards stretch the width and length of a building. Pair them with vertical battens so water and air can still move behind the cladding.
Shiplap, overlap and some tongue-and-groove profiles give clean horizontal lines. The profile sets the joint depth, the shadow line, where the fixings go and how much room the timber has to move.
Vertical Timber Cladding
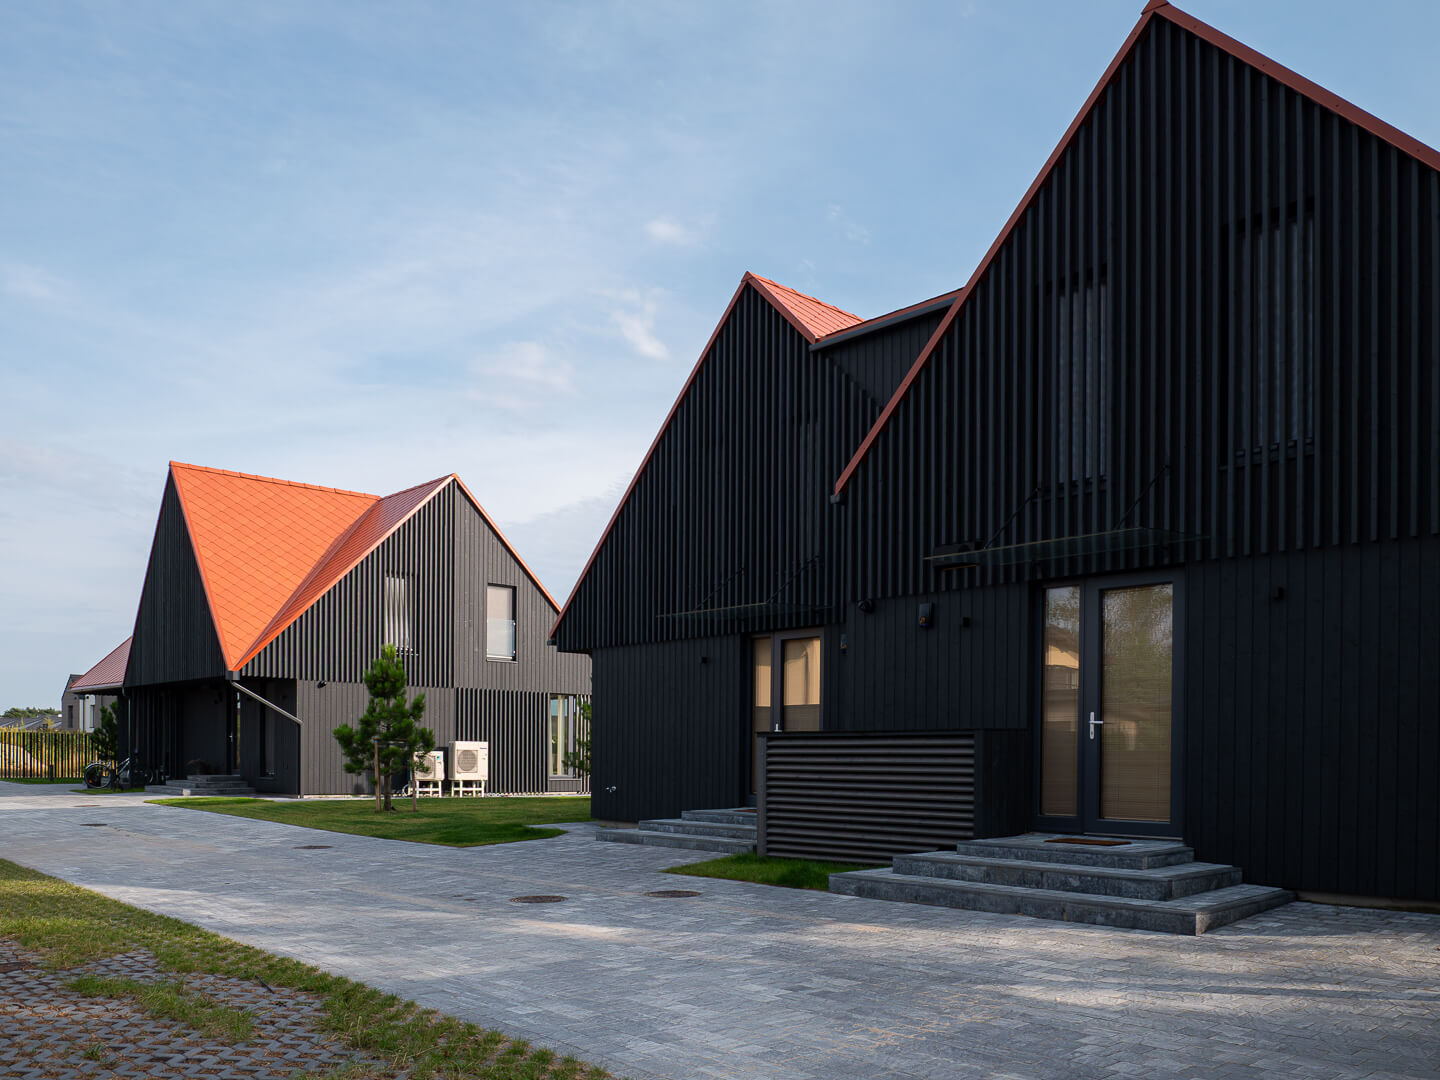
Vertical boards emphasise height and give both traditional and contemporary facades a strong rhythm. Behind them the battens have to run the other way, so plan an arrangement that still drains, still ventilates and still gives you fixing points.
Vertical cladding works with close-jointed profiles, board-on-board layouts, cover battens or open gaps. Plan the base and top details carefully, because the board ends are what people see.
Diagonal Timber Cladding
Diagonal boards create a dynamic pattern and tie different building volumes together. The direction changes the support and makes the junctions more complex, so resolve the layout before you order the boards.
Corners, openings, drainage paths and cut ends need the most attention. Build a full-size sample area to confirm the angle, the board rhythm and how the transitions are handled.
Timber Cladding Profiles
Tongue-and-Groove
Tongue-and-groove boards create a closely connected surface. The profile still needs to allow normal timber movement, and installation must follow the orientation and fixing rules for the exact product.
Shiplap and Overlap
Shiplap and rebated profiles overlap adjacent boards and form a defined shadow line. They can suit horizontal or vertical layouts where the selected product allows it.
Board-on-Board and Cover-Batten
These arrangements layer boards or use separate battens to cover joints. They create a pronounced rhythm and accommodate natural variation, although the additional depth affects corners, openings and material quantities.
Open-Joint Battens and Slats
Separated battens or slats create depth and strong shadow lines. The layer behind the gaps remains visible, so its colour, exposure suitability, detailing and ventilation become part of the architectural design.
Closed and Open Joints
Closed-joint profiles overlap or interlock to reduce direct water entry. They still need suitable drainage and movement allowance behind the visible surface.
Open joints intentionally expose the backing layer through the gaps. Joint width, backing colour, fixing visibility and weather exposure should be confirmed together. The complete build-up must suit the intended conditions.
Charred Wood and Thermo Wood Systems
Charred wood profiles combine timber grain with surfaces ranging from pronounced black texture to brushed and coloured finishes. Confirm that the product, colour and image you are specifying all refer to the same finish, so the final specification stays clear.
Thermo Wood comes in classic, brushed, textured and coloured formats. If charred wood and Thermo Wood appear on the same project, put the samples side by side and match the tone, grain and joint rhythm before you commit.

Fixings and Supporting Construction
Fixings must suit the timber product, supporting construction and exposure. Their position influences both performance and appearance. Concealed and visible fixing methods require different profiles and installation sequences.
The designer and installer should confirm batten spacing, board movement, perimeter clearances and every junction before work begins. Current product guidance and local requirements take priority over a generic detail.
Maintenance and Board Replacement
Profiles and layouts also decide how easily you can clean and repair the facade. Open gaps collect debris, and complex junctions are harder to inspect. Design it so individual boards can still be reached and replaced.
Regular inspection helps identify dirt, local coating wear, damaged boards and details that remain damp. Maintenance should follow the condition of the selected surface and the applicable product guidance. See our guides to cladding cleaning and sealing charred wood.
Choosing the Right Timber Cladding System
Confirm the board direction, profile, joint type, surface, colour, support, fixing method and exposure as one specification. Review a representative sample area before completing the full facade.
For the broader foundation, read What Is Timber Cladding?. Compare board direction in our vertical, horizontal and diagonal siding guide, and explore surface selection in Shou Sugi Ban Siding.